Achieve Crispy Pan-Fried Chicken Breasts with Less Oil
Imagine biting into a perfectly golden, undeniably crunchy chicken breast, followed by a burst of succulent, juicy flavor. Now, imagine achieving this culinary delight without the fuss and excess grease of deep-frying. If you're yearning for that ultimate comfort food experience but want a lighter, more approachable method, then mastering the art of the crispy fried chicken breast in a skillet is your next kitchen adventure.
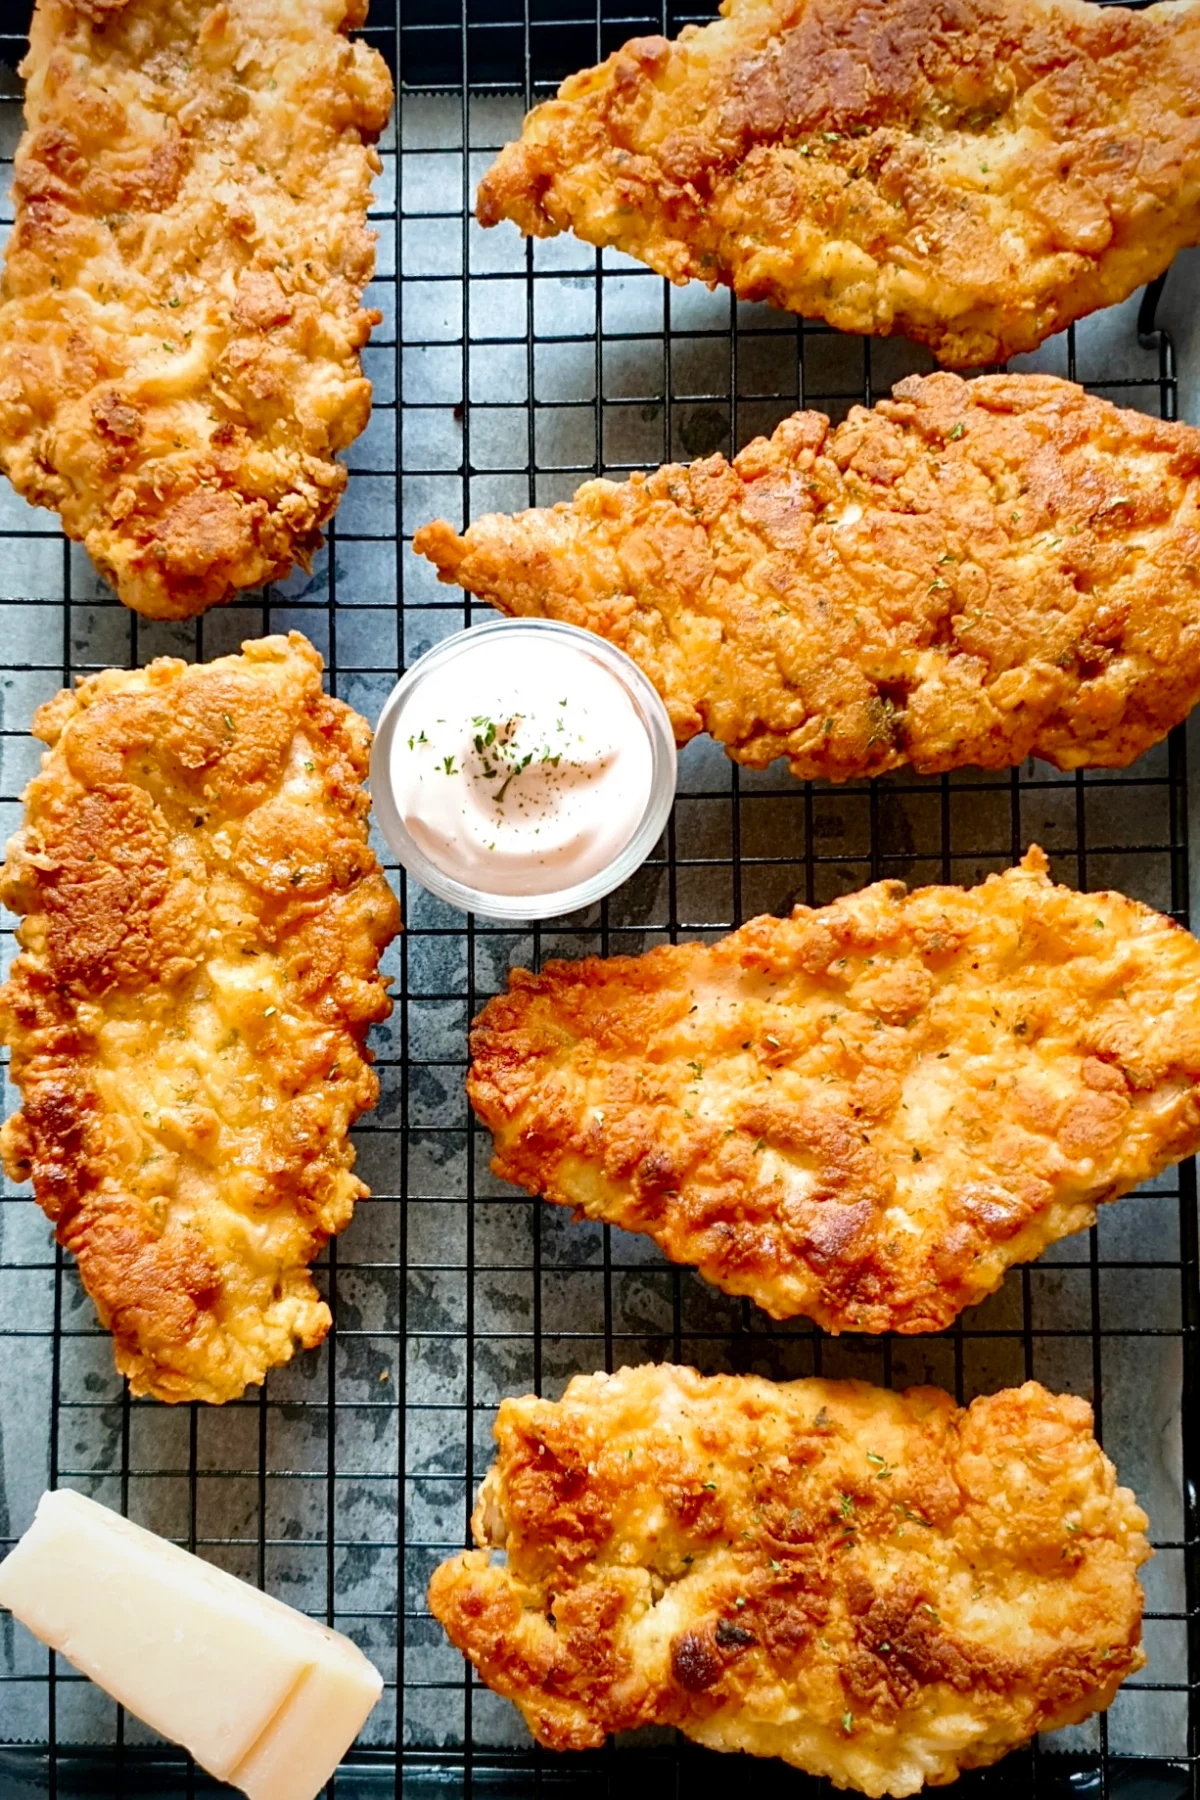
This isn't just another chicken recipe; it's a revelation. We're talking about pan-fried chicken breasts that boast an incredible, flavor-packed crust – often enhanced with a hint of savory Parmesan – while remaining incredibly moist and tender on the inside. It’s surprisingly simple to prepare, utilizes everyday ingredients, and significantly reduces the amount of oil needed compared to traditional methods. Get ready to transform your dinner routine with a dish that's bound to become a family favorite, proving that less oil doesn't mean less delicious.
Why Pan-Frying with Less Oil is a Game Changer
The allure of a perfectly fried chicken breast is undeniable. That satisfying crunch and juicy interior are what dreams are made of. However, traditional deep-frying can be intimidating, messy, and often leaves you feeling a bit heavy. This method of pan-frying offers all the textural and flavorful benefits with several distinct advantages:
- Reduced Oil Consumption: You use just enough oil to create that beautiful crust, not to submerge the chicken, making it a lighter alternative.
- Easier Cleanup: Less oil means less splatter and a quicker clean-up process.
- Speed and Simplicity: From prep to plate, this dish comes together quickly, especially if you plan ahead for an optional marinade.
- Incredible Flavor and Texture: You achieve that coveted golden-brown, crispy exterior and a tender, juicy interior that will have everyone asking for seconds. The addition of ingredients like Parmesan to your coating can elevate the flavor profile even further.
Mastering the Prep: Foundation for Flavor and Texture
The secret to an outstanding crispy fried chicken breast begins long before it hits the hot skillet. Thoughtful preparation ensures even cooking, maximum flavor, and that sought-after crispy texture.
Selecting and Preparing Your Chicken Breasts
Starting with the right chicken and preparing it correctly is paramount for success:
- Even Thickness is Key: Standard chicken breasts are often thicker on one end, leading to uneven cooking. For consistent results, it's highly recommended to pound your chicken breasts to an even thickness. Aim for about ¾ to 1 inch thick. You can do this by placing them between two sheets of plastic wrap and gently pounding with a meat mallet, the flat side of a heavy pan, or even a rolling pin. Some butchers offer thinly sliced chicken breasts, which are a great shortcut (not to be confused with much thinner chicken cutlets).
- Bring to Room Temperature: Before frying, let your chicken breasts sit out at room temperature for about 15-20 minutes. This subtle change prevents the cold chicken from drastically dropping the oil's temperature, which can lead to a soggy crust and unevenly cooked interior (crispy outside, raw inside).
- Optional Marinade for Deeper Flavor: While not strictly necessary for crispiness, a quick marinade can infuse your chicken with incredible flavor and tenderness. Even an hour in a simple buttermilk or seasoned yogurt marinade can make a significant difference, breaking down proteins and adding moisture. For the best flavor penetration, planning to marinate overnight can elevate your dish to another level.
The Secret to an Irresistible Crispy Coating
This is where the magic truly happens for your crispy fried chicken breast. The coating isn't just a covering; it's an integral part of the flavor and texture profile:
- The Wet Dip: Before the dry dredge, you'll need a wet component to help the coating adhere. An egg wash (beaten eggs with a splash of milk or water) or even a buttermilk dip works beautifully. This acts as a binder.
- The Seasoned Flour Blend: This is your crispy canvas. Combine all-purpose flour with a generous medley of seasonings. Think salt, freshly ground black pepper, garlic powder, onion powder, paprika (smoked paprika for an extra dimension), and a pinch of cayenne for a subtle kick.
- The Parmesan Power-Up: For an unbelievably golden, cheesy, and extra-crispy crust that really stands out, incorporate finely grated Parmesan cheese into your seasoned flour blend. This addition, inspired by some of the best Crispy Pan-Fried Chicken Breast: Easy Recipe for Juicy Results, not only enhances the crunch but also adds a rich, savory depth that pairs wonderfully with the chicken.
- Proper Dredging Technique: Ensure each piece of chicken is thoroughly coated in the flour mixture. Press the flour onto the chicken to create a thick, even layer. This full coverage is what yields that satisfying crunch.
The Art of Frying: Achieving Golden Perfection
With your chicken prepped, it's time to bring on the heat. The frying process is where precision and patience pay off, ensuring your chicken is both perfectly cooked and incredibly crispy.
Optimal Oil Temperature and Batch Frying
These two elements are critical for preventing soggy chicken and achieving that beautiful golden crust:
- Choosing the Right Oil: Opt for oils with a high smoke point, such as canola, vegetable, grapeseed, or avocado oil. These can withstand the necessary high temperatures without burning, which would impart an unpleasant flavor.
- Temperature Control is Non-Negotiable: For a truly crispy exterior and thoroughly cooked interior, oil temperature is paramount. You'll want an oil thermometer to ensure your oil reaches an initial temperature of around 375-400°F (190-205°C). Too low, and your chicken will absorb too much oil and become greasy and soggy. Too high, and the outside will burn before the inside cooks through. Maintain this temperature throughout the frying process.
- Frying in Batches: This is a crucial tip often overlooked. Overcrowding your skillet will drastically lower the oil's temperature, leading to steamed chicken rather than fried. Cook your crispy fried chicken breast in batches, allowing ample space between pieces. This ensures the oil stays hot enough to create that coveted crispy crust. You might need to adjust the heat slightly between batches to bring the oil back to temperature.
Knowing When Your Chicken is Perfectly Cooked
Cooking time will vary based on the thickness of your chicken breasts and the consistency of your oil temperature. Here’s how to ensure perfection:
- Visual Cues: Fry for about 4-7 minutes per side, depending on thickness, until the crust is a deep golden brown.
- Internal Temperature is Key: The only way to guarantee your chicken is safely cooked and perfectly juicy is by using an instant-read thermometer. Insert it into the thickest part of the chicken breast (avoiding bone if present) to ensure it reaches an internal temperature of 165°F (74°C).
- The Oven Safety Net: If your chicken is beautifully golden on the outside but still hasn't reached 165°F internally (a common issue with thicker breasts), don't panic! Simply transfer the partially cooked chicken to a baking sheet and finish it in a preheated 350°F (175°C) oven for a few minutes until it's cooked through. This prevents burning the exterior while ensuring the interior is safe and tender.
- Resting for Juiciness: Once cooked, transfer the chicken to a wire rack set over a baking sheet (to maintain crispness) and let it rest for 5-10 minutes. This allows the juices to redistribute throughout the meat, ensuring every bite is moist and flavorful.
For more detailed insights into perfecting your technique, explore Master Crispy Pan-Fried Chicken: Tips for Golden, Juicy Breasts.
Serving, Storing, and Savoring Every Bite
Once your perfectly crispy fried chicken breast is ready, the possibilities are endless for enjoying its deliciousness.
Versatile Serving Ideas
This versatile dish makes a fantastic main course and pairs well with a variety of sides:
- Classic Comfort: Serve alongside creamy mashed potatoes, steamed green beans, or a vibrant garden salad.
- Creative Combos: Slice it up for incredible sandwiches, wraps, or even as a topping for grain bowls and pasta dishes.
- Family Favorite: Its simple yet satisfying flavor profile makes it a guaranteed hit with both kids and adults.
Keeping Leftovers Deliciously Crispy
Leftover crispy chicken is a true treat, and with proper storage and reheating, it can be almost as good as fresh:
- Storage: Store any leftover chicken breasts in an airtight container in the refrigerator for up to three days.
- Reheating for Crispness: Avoid the microwave if you want to retain that coveted crunch, as it will make the crust soggy. For extra-crispy leftovers, reheat them in an air fryer for about 5-7 minutes at 350-375°F (175-190°C) until heated through. Alternatively, a quick re-fry in a little hot oil for 3-5 minutes, or a short stint in a conventional oven (around 350°F/175°C) until warm, will also bring back much of that delightful crispness.
- Cold Delights: Don't underestimate cold leftover crispy chicken! It's fantastic sliced over salads for a quick and satisfying lunch.
Your Journey to Crispy Chicken Success
Achieving a perfectly crispy fried chicken breast with less oil is not only attainable but surprisingly straightforward. By focusing on proper preparation – from pounding your chicken to creating a flavorful, Parmesan-infused coating – and mastering the frying technique with precise oil temperatures and batch cooking, you can consistently create a dish that's golden, juicy, and utterly irresistible. This recipe transforms a simple chicken breast into a show-stopping meal, proving that with a few key steps, you can enjoy all the comfort and deliciousness of fried chicken without the heavy guilt. So, grab your skillet and get ready to impress your taste buds!
