Master Crispy Pan-Fried Chicken: Tips for Golden, Juicy Breasts
Imagine a dinner that perfectly blends comfort and gourmet, a dish so satisfying it becomes an instant family favorite. We're talking about the holy grail of weeknight meals: the crispy fried chicken breast. Forget heavy deep-frying; this guide will show you how to achieve that coveted golden, crackling crust and incredibly juicy interior using just a skillet. It's surprisingly simple, yet yields results that rival any restaurant, making it the ultimate comfort food for any occasion.
This method of pan-frying allows you to create succulent, flavorful chicken with far less oil than traditional deep-frying. The secret lies in a few key techniques that ensure your chicken comes out moist on the inside and irresistibly crunchy on the outside, every single time. Get ready to elevate your home cooking and make this incredible pan-fried chicken a regular star in your dinner rotation.
The Foundation: Choosing and Preparing Your Chicken Breasts
The journey to an extraordinary crispy fried chicken breast begins long before it hits the hot pan. The foundational steps of selection and preparation are crucial for ensuring even cooking and maximum juiciness, laying the groundwork for that perfect golden crisp.
Selecting and Preparing for Even Cooking
One of the most common pitfalls in pan-frying chicken breasts is uneven cooking. Thicker parts cook slower than thinner ones, leading to dry edges or, worse, raw centers. To combat this, aim for chicken breasts of uniform thickness. If your butcher offers thin-sliced breasts, they're an excellent choice. Otherwise, you'll want to pound them yourself. Using a meat mallet (or even a heavy-bottomed pan), place your chicken breast between two sheets of plastic wrap. Gently, but firmly, pound the thicker parts until the entire breast is about ½ to ¾ inch thick. This ensures every part of the chicken cooks at the same rate, promoting both tenderness and even browning, which is essential for that coveted crispy crust.
The Power of Marinades and Brines
While a quick dip in seasoned flour can yield delicious results, planning ahead with a marinade can elevate your crispy fried chicken breast to new heights of flavor and moisture. An overnight soak in a buttermilk or yogurt marinade, for instance, not only infuses the chicken with tangy notes but also tenderizes it, making it incredibly succulent. The lactic acid in these ingredients gently breaks down the proteins, leading to a more tender and juicy final product. Even a simple brining solution (salt, sugar, water) for a couple of hours can dramatically improve the chicken's ability to retain moisture. If time is of the essence, a generous application of a dry rub at least 30 minutes before cooking allows the flavors to penetrate slightly, still making a noticeable difference.
Bring to Room Temperature
Resist the urge to cook chicken straight from the refrigerator. Allowing your chicken breasts to sit at room temperature for 15-30 minutes before frying is a small but mighty step that significantly impacts the final outcome. Cold chicken hitting hot oil can drastically lower the oil's temperature, leading to a longer cooking time and a potentially soggy crust. Room temperature chicken cooks more evenly and quickly, preserving the crispiness of your coating and ensuring a perfectly cooked interior without any dry spots.
Crafting the Perfect Crispy Coating
The magic of a truly crispy fried chicken breast lies largely in its coating. This isn't just a protective layer; it's the golden, flavorful shell that locks in juiciness and delivers that satisfying crunch, distinguishing your dish from an ordinary chicken breast.
The Ultimate Seasoned Flour Blend
A basic seasoned flour blend is your starting point, but don't be afraid to experiment. Combine all-purpose flour with salt, black pepper, and your favorite spices. Think garlic powder, onion powder, paprika (smoked or sweet for added depth and color), a pinch of cayenne for a subtle kick, or dried herbs like thyme or oregano. For an irresistible, cheesy crisp, mix in finely grated Parmesan cheese – a tip that truly transforms the flavor and texture, creating an incredible golden brown crust without needing excessive oil. This simple blend is what turns ordinary chicken into something truly special, enhancing the inherent flavors while contributing to the beautiful golden finish. For a detailed guide on creating such a coating, you might find Crispy Pan-Fried Chicken Breast: Easy Recipe for Juicy Results particularly helpful.
Achieving Superior Adherence
To ensure your seasoned flour adheres beautifully and creates that robust crust, a 'wet' layer before the 'dry' is often beneficial. After patting your chicken breasts completely dry (this is crucial for crispiness!), you can briefly dip them in a whisked egg or, even better, in buttermilk (especially if you didn't marinate them). The liquid provides a sticky surface for the flour to cling to, forming a more resilient and substantial crust. Once dipped, transfer the chicken to your seasoned flour mixture. Press firmly to ensure every inch is coated, then gently shake off any excess. A thick, uneven coating can become gummy rather than crispy, so aim for a thin, uniform layer that will fry up perfectly golden and crunchy.
Mastering the Pan-Frying Technique for Golden Perfection
The actual pan-frying is where the magic truly happens, transforming your prepared chicken into a crispy fried chicken breast masterpiece. Precision with heat and attention to detail are key to achieving that perfect golden exterior and succulent interior, ensuring every bite is a delight.
Selecting the Right Oil and Temperature
Choose an oil with a high smoke point, such as canola, vegetable, grapeseed, or avocado oil. These oils can withstand the necessary high heat without breaking down, smoking excessively, or imparting off-flavors to your chicken. Pour enough oil into your skillet to generously coat the bottom, about ¼ to ½ inch deep. Heating the oil to the correct temperature is paramount. While an oil thermometer can provide precise readings (aim for around 400°F initially), you can also rely on visual cues. The oil should be shimmering gently, and if you drop a tiny pinch of flour in, it should sizzle immediately. Too cool, and the chicken will absorb excess oil and become greasy; too hot, and the exterior will burn before the interior cooks through. For tips on using less oil effectively, check out Achieve Crispy Pan-Fried Chicken Breasts with Less Oil.
Avoid Overcrowding the Pan
This is a golden rule for pan-frying, often overlooked but critical for success. Overcrowding your skillet significantly drops the oil temperature, leading to steamed rather than fried chicken. The result? A lackluster, soggy crust instead of the desired crispiness. Cook your chicken in batches, allowing ample space around each piece. This ensures consistent heat, optimal air circulation, and even browning, which are essential for developing that incredible crunch.
The Frying Process and Doneness
Carefully place the coated chicken breasts into the hot oil. Avoid moving them for the first few minutes to allow a crust to form and adhere firmly. Cook for about 3-5 minutes per side, depending on thickness, until deeply golden brown and audibly crispy. It's best to flip only once to maintain the integrity of the crust. To guarantee your chicken is safely cooked and perfectly juicy, use an instant-read thermometer. Insert it into the thickest part of the breast; it should register 165°F (74°C). If the outside is beautifully golden but the inside isn't quite there, don't despair. You can finish it in a preheated 350°F (175°C) oven for a few minutes until it reaches the correct internal temperature, ensuring it's cooked through without sacrificing the exterior crispness.
The Essential Resting Period
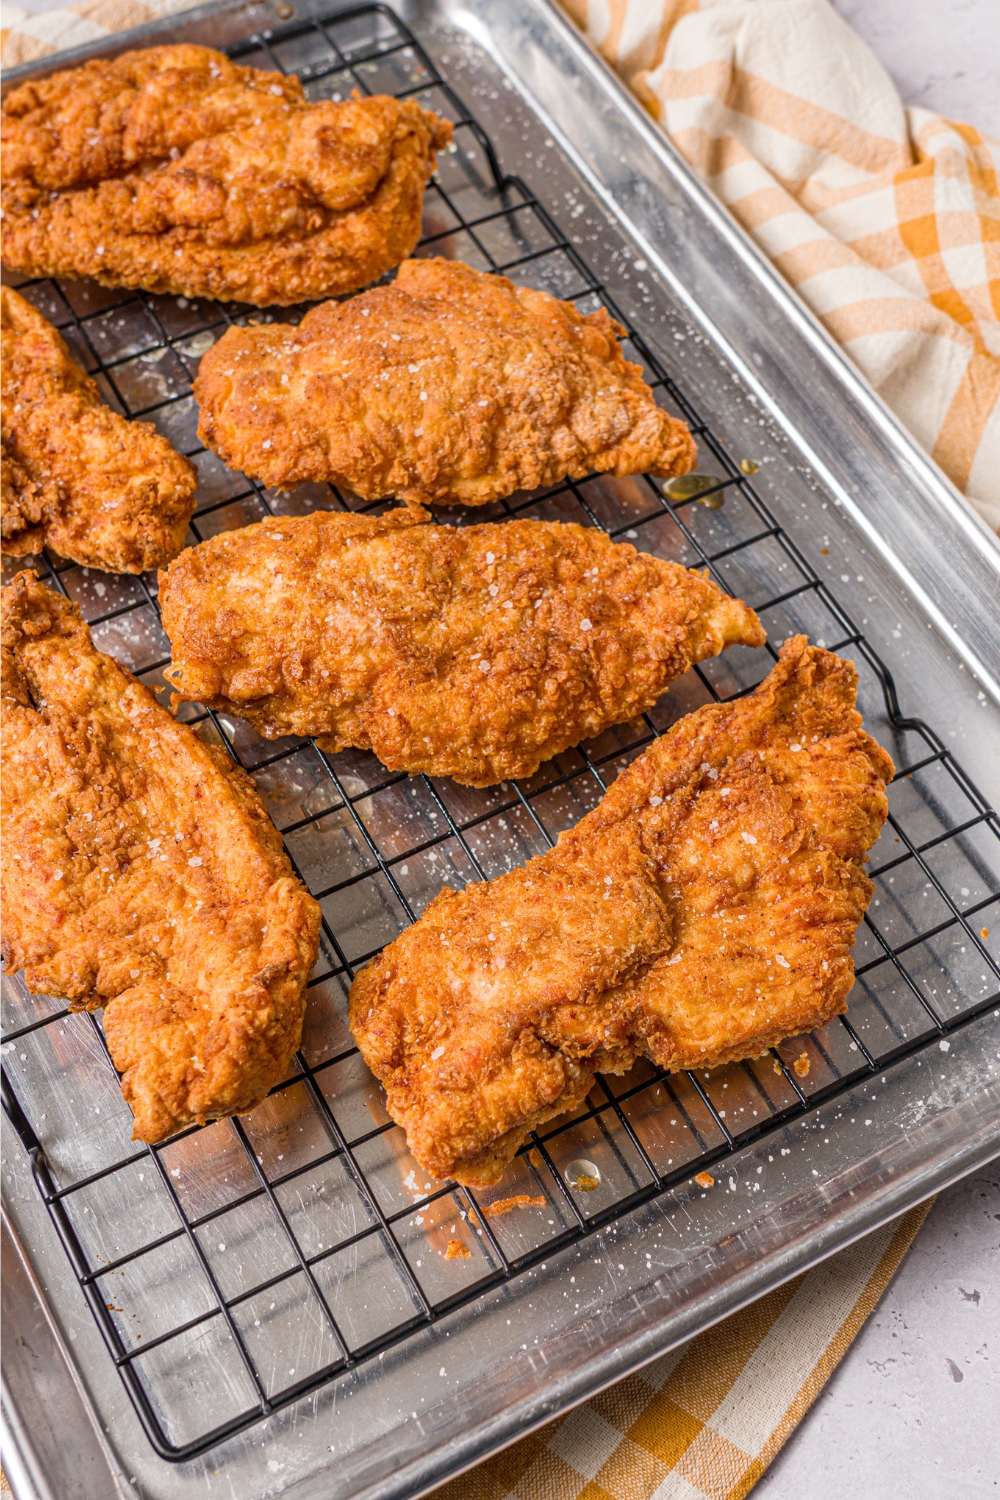
Once cooked, transfer your crispy fried chicken breast to a wire rack set over a baking sheet (this is crucial to maintain crispiness, as placing it directly on a plate or paper towels can trap steam and make the bottom soggy). Let it rest for 5-10 minutes. This crucial step, often skipped, allows the juices, which have been pushed to the center during cooking, to redistribute evenly throughout the meat. The result is an incredibly juicy and tender breast that bursts with flavor with every bite.
Troubleshooting & Enjoying Your Crispy Masterpiece
Even with the best intentions, cooking can present challenges. Knowing how to troubleshoot common issues will empower you to consistently create a perfect crispy fried chicken breast, transforming potential setbacks into culinary triumphs.
Solving Common Pan-Frying Problems
- Dry Chicken: This is often a result of overcooking or not preparing the chicken properly. Ensure you pound the chicken to an even thickness, consider a quick brine or marinade, and always use an instant-read thermometer to avoid exceeding 165°F (74°C). The resting period is also vital for juiciness.
- Soggy Crust: The culprits here are usually oil temperature too low, overcrowding the pan, or not shaking off excess flour. Make sure your oil is hot enough, cook in batches, and ensure a thin, even coating of flour. Transferring to a wire rack after cooking also prevents the bottom from getting soggy.
- Uneven Browning: This points to uneven chicken thickness or inconsistent heat distribution in your pan. Pound your chicken uniformly and ensure your oil is heated evenly across the pan before adding the chicken.
Serving Your Golden, Juicy Creation
The beauty of a perfectly pan-fried chicken breast lies in its versatility. It's an ideal standalone main course, perhaps alongside a fresh green salad, creamy mashed potatoes, steamed asparagus, or roasted seasonal vegetables. But don't stop there! Slice it for gourmet sandwiches, dice it for a vibrant chicken salad, or serve it atop pasta with a light sauce. Its simple yet rich flavor profile, especially with that incredible crispy coating, makes it compatible with countless side dishes and culinary themes, proving it to be a true family favorite.
Storing and Reheating Leftovers
Should you be lucky enough to have leftovers, store them in an airtight container in the refrigerator for up to three days. They're fantastic cold, thinly sliced over a fresh green salad, adding a delightful texture and flavor. For warm and extra crispy fried chicken breast leftovers, the air fryer is your best friend – a few minutes at 350°F (175°C) will bring back much of that initial crunch and golden exterior. Alternatively, a quick re-fry in a hot skillet for about 5 minutes can restore its crispy glory, making sure every last bite is as enjoyable as the first.
Achieving a truly crispy fried chicken breast doesn't require culinary acrobatics or a deep fryer. With a few thoughtful preparation steps, a well-seasoned coating, and careful attention to your pan-frying technique, you can consistently create a meal that is golden, juicy, and utterly satisfying. This comfort food staple is within reach for any home cook, promising flavorful results that will make it a regular on your dinner table. So grab your skillet, follow these tips, and prepare to master the art of the perfect pan-fried chicken, delighting your taste buds and impressing your loved ones.
