Crispy Pan-Fried Chicken Breast: Your Go-To Recipe for Unbeatable Flavor and Juiciness
There's something uniquely satisfying about a perfectly cooked piece of chicken – especially when it boasts a golden, audibly crispy exterior yielding to an unbelievably tender and juicy interior. While deep frying might come to mind, achieving that coveted crunch doesn't require vats of oil. Our recipe for
crispy fried chicken breast proves that a simple skillet and a few clever techniques are all you need to create a show-stopping meal that’s both easy to prepare and incredibly delicious. This isn't just another chicken dish; it’s a revelation for comfort food lovers looking for a flavorful, family-favorite staple without the fuss.
Why Pan-Frying Delivers Superior Results for Chicken Breasts
Many home cooks shy away from pan-frying chicken breasts, fearing dry, tough results or an oil-laden mess. However, when done correctly, pan-frying is arguably the best method for boneless, skinless chicken breasts, offering a multitude of advantages:
*
Exceptional Texture Contrast: Unlike baking or poaching, pan-frying creates that desirable crispy crust that's virtually impossible to achieve otherwise. This textural magic is what elevates a simple chicken breast into a truly memorable dish.
*
Juicy Interior: The quick, high-heat cooking method in a skillet seals in the natural juices of the chicken, preventing it from drying out. This means every bite of your
crispy fried chicken breast will be succulent and moist.
*
Less Oil, More Flavor: Contrary to popular belief, pan-frying uses significantly less oil than deep-frying. This allows the nuanced flavors of your seasonings and the natural taste of the chicken to shine through, without being overwhelmed by excessive grease. For more in-depth strategies on reducing oil without sacrificing crispiness, explore our guide on
Achieve Crispy Pan-Fried Chicken Breasts with Less Oil.
*
Quick and Convenient: With minimal prep and a fast cook time, pan-fried chicken breasts are perfect for weeknight dinners. Most of the magic happens in less than 20 minutes once the oil is hot.
*
Versatile and Customizable: The simple base recipe allows for endless flavor variations. Whether you prefer a classic herb blend, a spicy kick, or a cheesy Parmesan crust, this method adapts beautifully. It serves as an excellent main course that pairs well with a multitude of sides.
This recipe is designed to transform your perception of chicken breasts, making them a regular, much-anticipated part of your dinner rotation.
The Foundation of Flavor: Essential Prep and Ingredients
Achieving that golden-brown, flavorful, and juicy
crispy fried chicken breast starts long before it hits the hot skillet. Thoughtful preparation is the bedrock of success.
Selecting and Preparing Your Chicken
The type and thickness of your chicken breast can significantly impact your cooking time and final texture.
*
Choose Wisely: Opt for boneless, skinless chicken breasts. If possible, look for thinner cuts, often labeled as "thin-sliced chicken breasts" or "chicken cutlets." These cook more evenly and quickly.
*
Pound for Perfection: If your chicken breasts are particularly thick or uneven, gently pound them to an even ½ to ¾-inch thickness using a meat mallet. Place chicken between two sheets of plastic wrap to keep things tidy. This step is crucial for consistent cooking, preventing the outer edges from drying out while the center finishes cooking.
*
Marination Magic: While not strictly necessary for a quick fry, an overnight marinade (even a simple one with buttermilk, salt, pepper, and a touch of garlic powder) can work wonders. It tenderizes the meat and infuses it with flavor, leading to an even juicier outcome. Even 30 minutes at room temperature in a marinade can make a difference.
*
Room Temperature is Key: Before frying, let your chicken breasts sit out at room temperature for about 15-20 minutes. Cold chicken lowers the oil temperature too drastically, extending cooking time and potentially leading to a less crispy exterior or unevenly cooked meat (crispy outside, raw inside).
Crafting Your Seasoned Coating
The key to that irresistible crispy crust lies in a well-prepared flour dredge.
*
The Basic Blend: Combine all-purpose flour with a generous amount of salt and freshly ground black pepper.
*
Flavor Boosters: Elevate your coating with spices like garlic powder, onion powder, paprika (smoked or sweet), dried oregano, or a pinch of cayenne pepper for a subtle kick. For an extra layer of richness and crunch, finely grated Parmesan cheese can be incorporated, contributing to a truly golden and savory crust.
*
Dredging Technique: Ensure each chicken breast is thoroughly coated in your seasoned flour blend. Press the chicken firmly into the mixture to help the flour adhere, then shake off any excess. A thin, even layer is what you're aiming for.
Mastering the Fry: Temperature Control and Techniques
The skillet is where the magic happens, and proper heat management is paramount for a truly crispy and juicy result. To truly master the art of golden, juicy results every time, don't miss our comprehensive tips in
Master Crispy Pan-Fried Chicken: Tips for Golden, Juicy Breasts.
Oil Selection and Temperature
*
Choose the Right Oil: Opt for an oil with a high smoke point, such as vegetable oil, canola oil, grapeseed oil, or peanut oil. Olive oil has a lower smoke point and can burn, imparting a bitter taste.
*
Temperature Control is Non-Negotiable: This is arguably the most critical factor. Heat about ¼ to ½ inch of oil in a heavy-bottomed skillet (cast iron or stainless steel works best) over medium-high heat. You'll want the oil to reach approximately
400°F (200°C). An oil thermometer is your best friend here, as visual cues can be misleading. Oil that's too cool will result in greasy, soggy chicken, while oil that's too hot will burn the coating before the chicken is cooked through.
*
Don't Crowd the Pan: This is a common mistake. Frying chicken in batches is essential. Overcrowding the skillet significantly lowers the oil temperature, leading to less crispiness and potentially steaming the chicken instead of frying it. Give each piece enough space to cook evenly.
The Frying Process
1.
Carefully Place Chicken: Gently place the flour-coated chicken breasts into the hot oil, ensuring not to splash.
2.
Initial Sear: Allow the chicken to fry undisturbed for about 4-6 minutes per side. Resist the urge to move it! This initial sear is what creates that beautiful golden crust. The exact timing will depend on the thickness of your chicken and the actual oil temperature.
3.
Flip and Finish: Once the first side is golden brown and crispy, carefully flip the chicken. Continue frying for another 4-6 minutes, or until the chicken reaches an internal temperature of
165°F (74°C). An instant-read meat thermometer inserted into the thickest part of the breast is the only reliable way to ensure doneness.
4.
Troubleshooting Uneven Cooking: If you find your chicken is perfectly crispy on the outside but still slightly undercooked in the center, don't panic. Transfer the chicken to a baking sheet and pop it into a preheated 350°F (175°C) oven for a few minutes until it reaches 165°F. This will gently finish cooking the interior without burning the crust.
5.
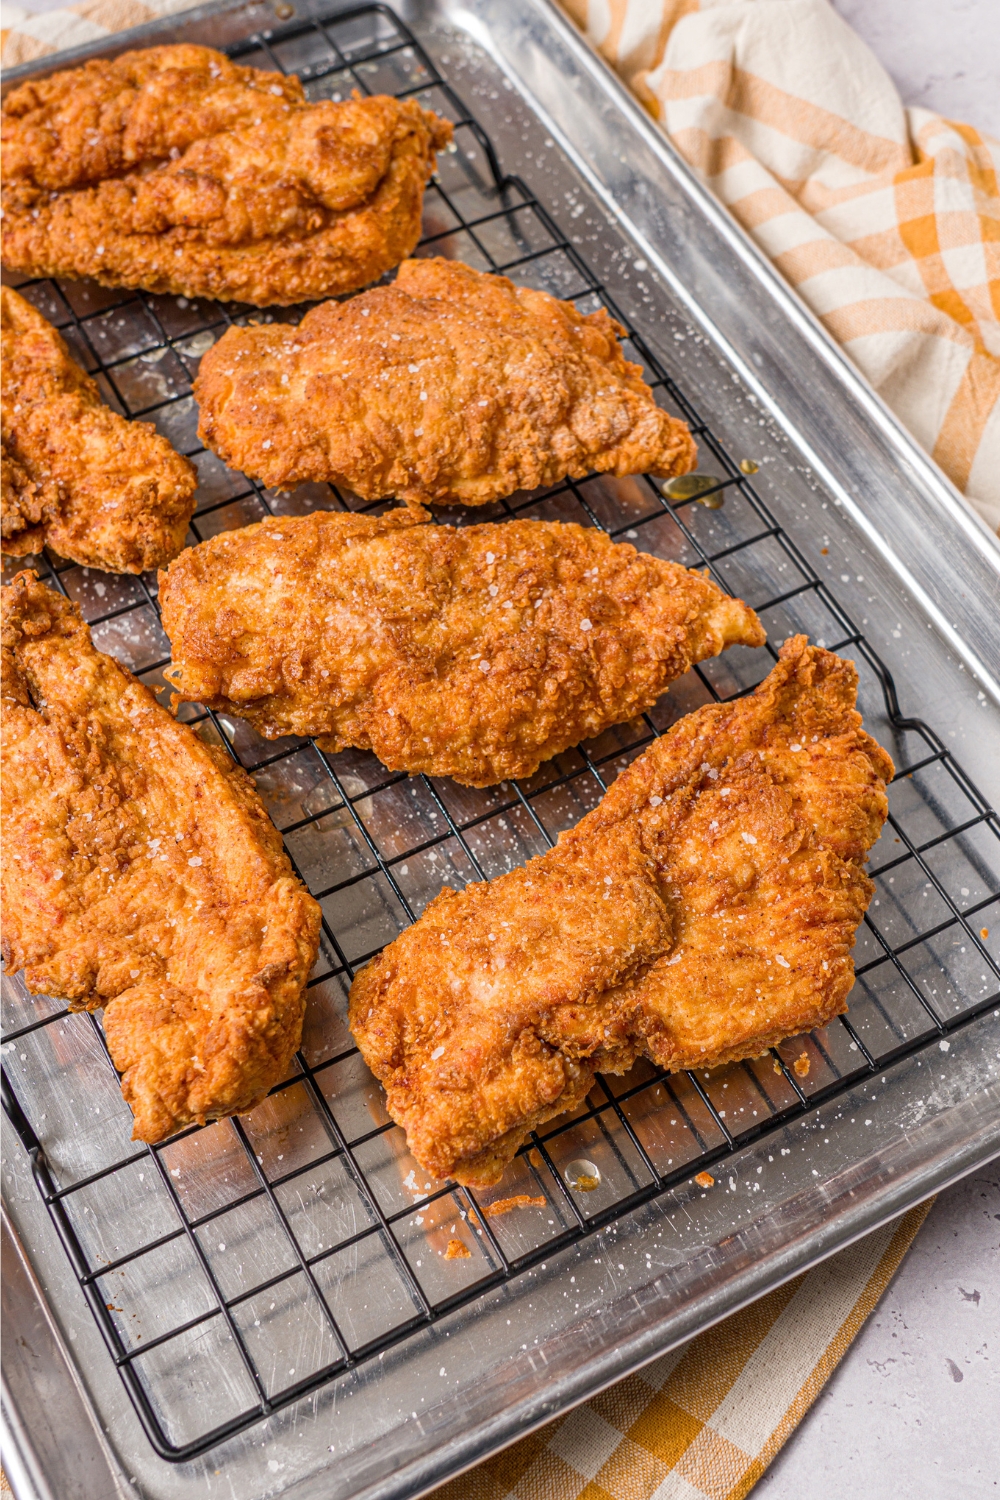
Resting Period: Once cooked, transfer the chicken to a wire rack set over a paper towel-lined plate. Let it rest for 5 minutes before slicing and serving. This allows the juices to redistribute throughout the meat, resulting in an even juicier final product.
Serving Suggestions and Leftovers
Your freshly made
crispy fried chicken breast is incredibly versatile. Serve it hot alongside classic comfort food sides like mashed potatoes, green beans, mac and cheese, or a fresh garden salad. It’s also fantastic sliced and added to sandwiches, wraps, or even as a protein boost for grain bowls.
Storing and Reheating
Leftovers can be a delightful treat!
*
Storage: Store any leftover chicken in an airtight container in the refrigerator for up to three days. It's delicious cold, making it perfect for salads or quick snacks.
*
Reheating for Crispy Results: To bring back that glorious crispiness, avoid the microwave. The best methods for reheating are:
*
Air Fryer: Place chicken in a preheated air fryer at 350°F (175°C) for 5-7 minutes, or until heated through and crispy.
*
Skillet: Lightly re-fry in a bit of oil in a skillet over medium heat for about 5 minutes, flipping once, until warmed through and the crust is revitalized.
*
Oven: Reheat on a baking sheet in a preheated oven at 375°F (190°C) for 10-15 minutes.
Conclusion
Gone are the days of dry, bland chicken breasts. With this comprehensive guide, you now possess the knowledge and techniques to consistently create a delicious, golden, and incredibly juicy
crispy fried chicken breast. From proper pounding and thoughtful seasoning to precise oil temperatures and careful batch cooking, each step contributes to a culinary masterpiece that’s surprisingly simple to achieve. This recipe isn't just a meal; it's a testament to how simple ingredients, combined with attention to detail, can transform an everyday staple into an extraordinary dining experience. Get ready to impress your family and yourself with this ultimate comfort food champion!